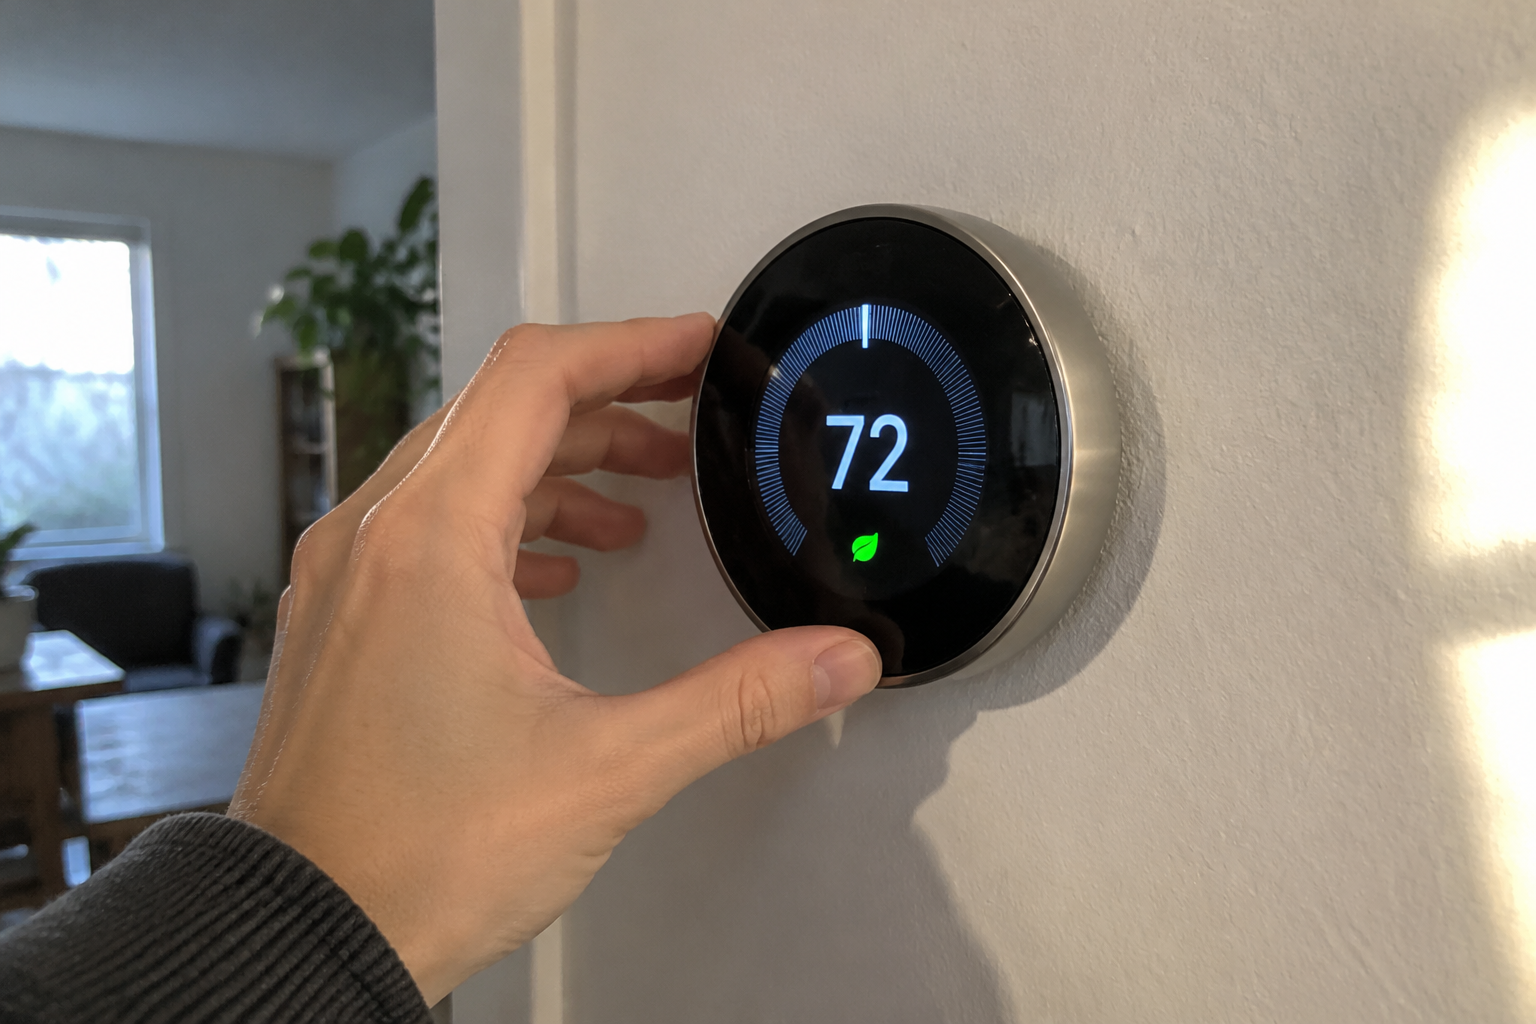
A wall thermostat is a small plastic rectangle with a screen, a couple of buttons, and a wire bundle tucked into the drywall behind it. That blandness hides the fact that it is one of the few devices in a house that runs on its own schedule, spends real money, and can quietly wreck a furnace if it is wired wrong. The checklist below is organized around the order a buyer should actually verify things, from the wiring in the wall outward to the app on the phone.
Count the wires before reading a single review
The first thing to verify has nothing to do with brands. Pull the old thermostat off its baseplate (breaker off, always) and photograph the terminal labels and the wire colors. A house with four wires, typically R, W, Y, and G, has a conventional single-stage system. A house with five or six may have a heat pump or second-stage heating. A house with two wires and no C terminal is the trouble case: many smart thermostats need a constant power wire, and a two-wire setup often does not provide one without an adapter or a jumper at the air handler.
This is the single most common reason a thermostat gets returned. A buyer reads glowing reviews, orders the popular model, and discovers on install day that the C wire is missing. Verify the wire count and the terminal letters first, then match the product to that reality, not the other way around.
Match the thermostat to the system, not the marketing
HVAC systems fall into broad families: conventional gas or electric forced air, heat pumps, dual-fuel setups, and radiant or baseboard heat. Each family has its own control logic. A heat pump uses an reversing valve and often needs an auxiliary heat stage; a thermostat built only for conventional systems will run it badly or not at all. Radiant floor heat and older baseboard systems frequently run on line voltage (120 or 240 volts) rather than the low-voltage 24-volt control wiring that most smart thermostats expect. Line-voltage thermostats exist, but they are a different product category and should be shopped as such.
Verify the system type from the air handler label or the breaker panel before shopping. A dual-fuel house (heat pump plus gas furnace) needs a thermostat that supports that combination explicitly. The product page will say so in the compatibility list, and that list is worth reading line by line rather than skimming.
The C wire question, and what an adapter really costs
When the C wire is absent, the options are an adapter kit that steals power from the existing wiring, a jumper run from the air handler, or a thermostat that ships with its own power supply. Each has a cost. Adapters work on many systems but not all, and they add a small box near the air handler that a future service technician will have to understand. Running a new wire through finished walls is a job for an electrician or HVAC tech and can run into real money depending on the house.
A buyer should price the adapter or the wire run into the total before committing. A thermostat that seems cheap at $130 can become a $400 project once installation is factored in. The honest comparison is installed cost, not shelf price.
Local control versus cloud dependence
Many smart thermostats route their scheduling and remote access through the manufacturer's cloud service. That works fine until the wifi drops, the account has an outage, or the company decides to end support for an older model. A thermostat that can run its schedule locally, on the device itself, keeps heating the house when the internet does not. The distinction matters most during a power or network event, which is exactly when a person wants the heat to keep working.
Check whether the schedule lives on the device or in the app. Check whether the thermostat keeps running its last program after the router goes down. A device that turns into a dumb on/off switch without wifi is a weaker product than one that holds its own program.
What the room sensor actually measures
Remote room sensors are a genuine feature, not a gimmick, but they vary in what they do. Some average the temperature across several rooms; some let the system prioritize one room at a time; some only report temperature without influencing the setpoint. In a house with a hot upstairs and a cold downstairs, a sensor in the bedroom can make the whole system chase a number that the hallway thermostat never sees, which is either the fix or the problem depending on how it is configured.
Verify how many sensors ship in the box, how many the system supports, and whether the app allows per-sensor scheduling. A thermostat that supports two sensors is a different product from one that supports six, and the difference shows up in a two-story house.
The app is half the product
A thermostat's phone app gets reviewed far less carefully than the hardware, and it is where most of the daily friction lives. Before buying, install the app on a phone and look at the screenshots and the recent reviews. Watch for complaints about login problems, slow sync, or features moved behind a subscription. Some manufacturers charge a monthly fee for history graphs, advanced scheduling, or usage reports that were free on earlier models.
The app also determines how the thermostat behaves with voice assistants and home automation platforms. A buyer who runs a HomeKit or Google Home household should verify the specific model appears on the platform's compatibility list, since support is often model-specific and can be dropped later.
Utility rebates and the fine print attached to them
Many utilities offer rebates for smart thermostats, sometimes $50, sometimes more, and the rebate often comes with a condition: the utility can adjust the setpoint during peak demand events. That is a real trade. A household that works from home or has a heat-sensitive occupant may find the adjustment unwelcome on a hot afternoon. The rebate terms are worth reading before the discount is claimed, because the program enrollment usually follows the purchase and is hard to undo.
Verify the rebate is available for the specific model and that the enrollment terms are acceptable. A $75 rebate that comes with four hours of setpoint control on the hottest days of the year is a different offer than a straight discount, and the difference should be weighed before checkout, not after.
Installation confidence and the warranty question
Thermostat installation is usually a fifteen-minute job for someone comfortable with a screwdriver and a breaker, and a genuinely bad idea for someone who is not. A miswired thermostat can blow a low-voltage fuse in the air handler, and in rare cases a crossed wire can damage the control board. The breaker must be off, the wires must be labeled, and the new baseplate must match the old terminal layout.
The warranty is the other half of this. Many manufacturers void coverage if the unit is installed by anyone other than a licensed technician, and some require professional installation for the rebate as well. Verify the warranty terms and the installation requirement before deciding whether to do it personally or hire it out.
Reading the compatibility list in full
Every major smart thermostat publishes a compatibility checker and a list of supported systems. The list is longer than most buyers expect and includes footnotes about which features work on which systems. A model may support a heat pump but not a dual-fuel setup, or support two-stage cooling but not two-stage heating. The footnotes are where the disqualifying details hide.
A buyer should run the compatibility checker with the actual wire configuration and system type in hand, then read the footnotes for the specific system family. The checker is a filter, and the footnotes are the fine print that decides the purchase.
The old thermostat's model number is a useful clue
The thermostat being replaced carries information. Its model number, usually printed on the back of the faceplate, indicates what the original installer expected the system to need. A basic single-stage model suggests a basic single-stage system. A model with terminals for auxiliary heat suggests a heat pump. Photographing the old unit's wiring and label before removal gives the buyer a reference to compare against the new product's requirements and a fallback if the new unit needs to be returned.
That photograph also helps if a technician is called in later. A clear picture of the original wiring saves diagnostic time and prevents guesswork about how the system was configured before the swap.
Buttons, screens, and the household that has to use it
A thermostat is operated by everyone in the house, including guests and the person who dislikes apps. A unit with a clear physical display and a couple of tactile buttons gets used correctly by more people than one that requires a phone to change the temperature. The touchscreen models look better in photos and frustrate the relative who just wants to turn the heat up.
Verify the on-device controls before buying. A thermostat with no physical buttons and no readable display is a device that depends entirely on the app and the network, which loops back to the local control question. The best thermostat for a given house is the one the whole household can operate without a tutorial.