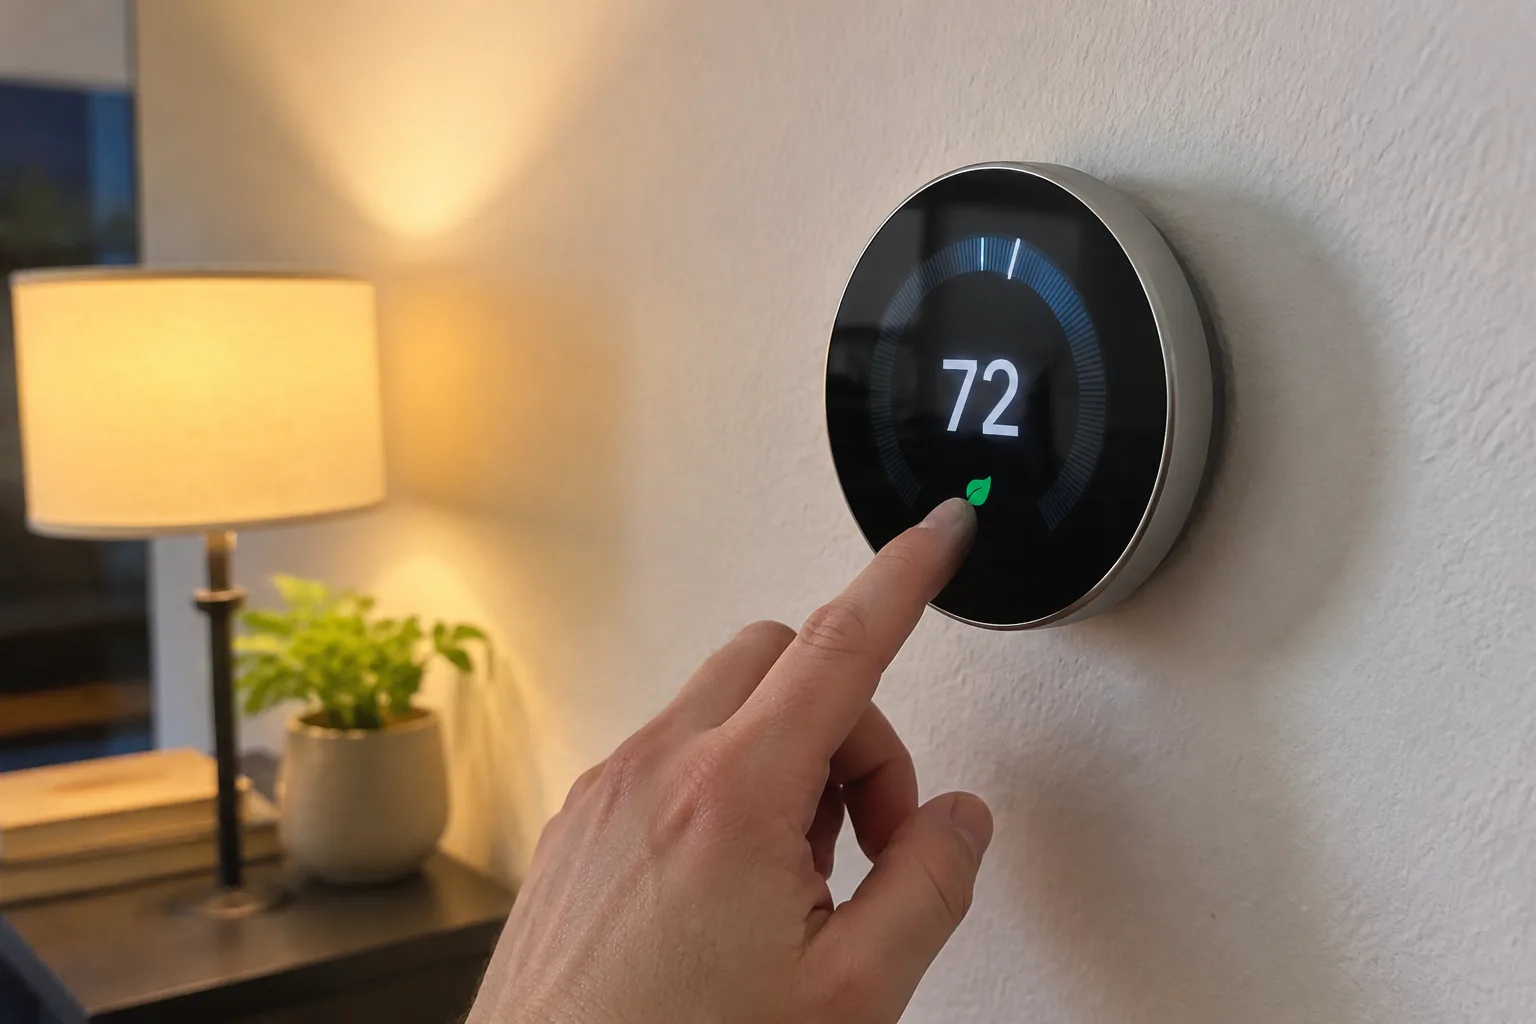
A smart thermostat arrives in a box the size of a paperback, with a faceplate, a backplate, a bag of screws, and a instruction sheet that assumes a level of confidence most people do not have. The device itself costs somewhere between the price of a nice dinner and a month of groceries. The professional install, quoted separately, often runs a hundred dollars or more, and in some markets the wait for an appointment stretches past a week. That gap between the box and the wall is where most of these gadgets stall out, sitting on a kitchen counter for a month while the old dial keeps clicking away.
The install is genuinely doable without a pro, and the reasons it intimidates people are mostly about unfamiliarity rather than difficulty. A thermostat is a switchboard. It connects a handful of low-voltage wires to a set of relays that turn the furnace, the air conditioner, and the fan on and off. Nothing in that wall carries enough current to hurt a healthy adult. The work is careful, slow, and boring in the way that changing a headlight bulb is boring. It rewards patience and punishes hurry, which is a combination most homeowners can manage on a Saturday morning.
The wires behind the old dial are the whole job
Before anything gets ordered, the existing thermostat has to come off the wall and reveal its wiring. This is the step that decides whether the project is a twenty-minute swap or a call to an electrician. Most homes built or updated in the last thirty years carry four to six wires: a red one for power, a white one for heat, a yellow one for cooling, a green one for the fan, and often a blue or black common wire that powers the thermostat itself. Older houses, especially those still running a two-wire setup from a gravity furnace, may have only red and white, which limits what a smart unit can do without a separate power adapter.
The removal itself is simple. Kill the breaker that feeds the air handler, confirm the screen on the old thermostat has gone dark, then pop the faceplate off. Most models release with a gentle pull at the bottom or a small tab on the side. Underneath sit the wires, each screwed into a labeled terminal: R, W, Y, G, C, and sometimes O/B for a heat pump. A phone photo of that terminal block, taken before anything is loosened, is the single most useful thing a person can do during the entire project. Labels fade, memories fail, and the photo costs nothing.
Those wires are thin, usually 18-gauge, and they are stiff after decades in the wall. They break if bent too sharply. They also hide behind the drywall, so if one slips back into the hole, retrieving it means fishing with a wire coat hanger and a lot of swearing. Taping the bundle to the wall, or wrapping each exposed end around a pencil, keeps them from retreating.
A C-wire solves the power problem most installs hit
The common wire, usually blue, is the one that trips up a large share of DIY installs. Smart thermostats need continuous low-voltage power to run their screens and radios, and without a C-wire they either drain batteries at an alarming rate or refuse to boot. Many older installs simply do not have one run to the thermostat, even when the furnace has a spare terminal waiting for it.
There are three honest ways out. The first is to check whether an unused wire is already tucked in the wall, which happens more often than people expect. The second is to install a power adapter kit at the furnace, a small module that steals a trickle of current from the existing wires and feeds it to the thermostat; this is fiddly and requires opening the air handler, but it avoids new cable. The third is to buy a thermostat that ships with its own adapter or runs on batteries alone, accepting the tradeoff of occasional battery changes and a slightly dimmer screen.
Running a new wire through finished walls is the option to avoid. It is possible, it is miserable, and it usually involves patching drywall in a hallway closet. The adapter route is the one most people take once they understand the alternatives.
The backplate goes on before the wires go back in
With the old unit off and the wires labeled, the new backplate mounts to the wall using the existing holes when they line up and drywall anchors when they do not. Level matters here, because a thermostat that sits a degree off true will bother the eye every time someone walks past it. A small torpedo level or a phone app handles that in seconds. The plate screws down snug, not cranked; over-tightening cracks plastic and strips anchors.
Then the wires go into the new terminals, matching the labels from the photo. Each one gets stripped about a quarter inch, inserted straight, and tightened until the screw holds firm with a gentle tug. Ferrules or small wire nuts are not needed on most modern units; the terminals clamp directly. The bundle gets pushed back into the wall cavity carefully, leaving enough slack that the faceplate can seat without strain.
The faceplate clicks on last, and the breaker goes back on. If the screen lights up, the wiring is correct enough to proceed. If it stays dark, the first thing to check is the C-wire connection, and the second is whether the breaker actually reset.
Heat pumps need one extra setting most guides skip
Homes with a heat pump carry an O/B terminal that tells the reversing valve which way to swing for heating versus cooling. Getting this wrong produces a thermostat that heats in summer and cools in winter, a mistake that is easy to make and confusing to diagnose. During setup, the app or on-screen menu asks whether the system is a heat pump and whether the O/B wire is energized in heating or cooling. The answer depends on the manufacturer, and the old thermostat's manual or a quick search of the model number settles it.
Conventional gas furnaces and straight air conditioners skip this step entirely. The setup menu will still ask, and the correct answer is simply that the system is conventional. Guessing here is worth avoiding; a heat pump running backward wastes energy for a full season before anyone notices.
Scheduling is where the savings actually live
The hardware install is the visible part, but the payoff comes from the schedule. A smart thermostat earns its price by not heating an empty house and not cooling a house that nobody is in. The default programs shipped by the manufacturer are generic and rarely match a real household's rhythm. A person who leaves at seven and returns at six needs a different curve than someone who works from home three days a week.
The first week is best spent letting the unit run on a simple schedule and watching what happens. Most apps show a history graph of run times and indoor temperatures, and that graph reveals whether the house holds heat well or leaks it. A well-insulated house can be set back six or eight degrees during the day and recover in half an hour. A drafty one recovers slowly, and aggressive setbacks just leave the house cold at dinner. Adjusting the schedule after seeing the data beats guessing on day one.
Geofencing sounds clever and often disappoints
The phone-location feature that flips the system to away mode when everyone leaves is the most marketed and least reliable part of the package. It depends on phones reporting location promptly, on the app running in the background, and on a household where every occupant carries a phone. In practice, a single forgotten phone left on a charger keeps the house conditioning an empty living room all afternoon. The feature is worth enabling for households with predictable comings and goings, and worth ignoring for everyone else.
Learning algorithms have a similar problem. They infer patterns from the first weeks and then lock into a schedule that may not reflect a changed routine. A new job, a new baby, or a teenager home from school throws the model off, and the thermostat keeps heating an empty house at 3 p.m. because that is what it learned in March. Manual schedules are duller and more predictable, which is often the better trade.
Small faults show up in the first cold snap
The real test of a DIY install arrives with the first genuine cold front, when the furnace runs for hours and the thermostat's wiring is under load. A loose terminal that seemed tight in October can arc or drop a connection under vibration, and the symptom is a system that short-cycles or refuses to fire. The fix is usually to kill the breaker, pull the faceplate, and re-seat every wire with a firmer turn of the screwdriver.
Homes with a humidifier, a dehumidifier, or a multi-stage furnace add terminals that the basic wiring diagram does not cover. Those accessories need their own connections, and skipping them leaves the humidifier dead or the second stage of heat unused. The installation manual lists the terminal assignments; the old thermostat's wiring photo shows what was connected before. Matching the two is the whole trick.
The project ends not with a ceremony but with a small moment: the first morning the house is warm before anyone gets out of bed, and the furnace has been running on a schedule set by hand, on a Saturday, with a phone photo of a terminal block and a screwdriver that cost less than the pro install quote. That is the whole return on the afternoon.