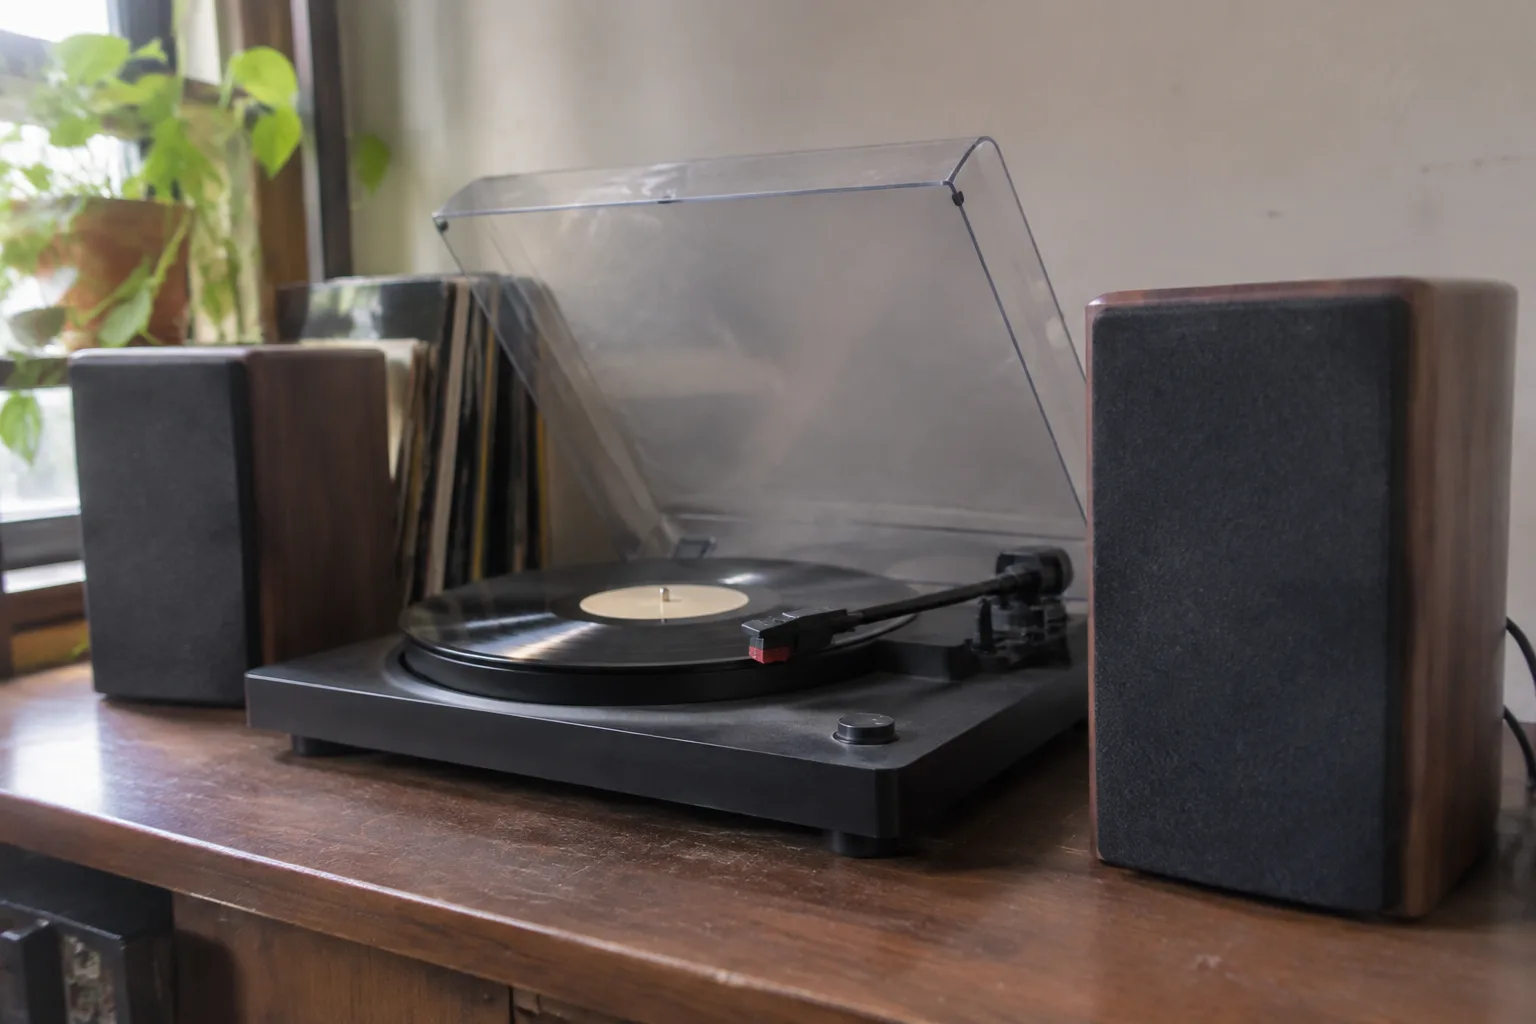
A turntable, two powered speakers, and a pair of cables. That is the entire shopping list for a working vinyl setup in 2025, and it is also the source of most of the confusion. The powered speaker has swallowed the amplifier, the phono stage sometimes lives inside the turntable and sometimes does not, and the back panels of both devices are covered in jacks that look interchangeable to anyone who has not spent an afternoon reading forum threads from 2009.
What follows is the sequence that actually works, in the order the boxes come out of the packaging. It assumes a beginner, a modest budget, and no interest in becoming an electrician. It also assumes one thing that trips up nearly every first-timer: the turntable and the speakers have to agree about whether a phono preamp exists, and that agreement has to happen before anything gets plugged in.
The One Question That Decides the Cabling
A moving magnet cartridge, the standard on almost every entry-level turntable, puts out a signal of roughly 3 to 5 millivolts. A powered speaker expects a line-level signal of around 1 volt. That gap is the reason a phono stage exists, and it is the reason a bare turntable plugged straight into a powered speaker will produce something thin, quiet, and oddly tinny, if it produces anything at all.
So the first task is to find out which side of that gap the gear sits on. Many modern turntables, especially the ones marketed to people who own a single pair of speakers, ship with a built-in phono preamp and a switch on the back labeled something like PHONO and LINE. When that switch is set to LINE, the turntable is doing the amplification itself and can run straight into a powered speaker's analog input. When it is set to PHONO, the turntable is passing the raw signal through and needs an external stage.
Powered speakers, for their part, almost never include a phono input. The exceptions are a handful of models aimed squarely at vinyl buyers, and they will usually say so on the box. A beginner should not assume. Check the spec sheet for the words "phono" or "RIAA" before buying anything, because the alternative is buying a separate preamp later and discovering it on a Tuesday night.
Placing the Turntable Somewhere It Can Actually Work
Before cables, furniture. A turntable is a mechanical device that reads microscopic wiggles in a groove, and it will happily read the wiggles of the floor joists, the refrigerator compressor, and the footsteps of anyone walking past. The shelf it sits on matters as much as the cartridge. A wobbly IKEA side table is a bad home for a turntable; a solid dresser or a wall-mounted shelf is a good one.
Keep the speakers off the same surface as the turntable if at all possible. Sound travels through furniture, and a speaker sharing a shelf with a turntable will send bass vibrations straight into the stylus, where they get re-amplified and come out as a muddy rumble. Stands or a separate shelf solve this. If space forces the speakers onto the same surface, isolation pads under the speakers help more than most beginners expect.
Leveling is the next small thing. Most turntables have adjustable feet, and a bubble level from a hardware store costs a few dollars. A deck that is off-level by a degree or two will track unevenly, and the effect is subtle enough that a new owner might blame the records.
Wiring Powered Speakers to the Deck Without an Amplifier in Between
With placement settled, the cabling is short and simple. The turntable's output, whether it is a captive cable with RCA plugs or a pair of jacks on the back, goes into the powered speaker designated as the primary or master unit. That speaker contains the amplifier for both channels, and it will have a second output that feeds the passive speaker on the other side.
Two details cause most of the trouble here. The first is the ground wire, a thin spade or bare wire that comes off the turntable alongside the audio cables. It needs to connect to a grounding screw on the speaker or preamp. Skip it and the setup will hum, a low 60 Hz buzz that gets louder as the volume goes up. The hum is not a sign of a broken component; it is a sign of a floating ground, and it usually disappears the moment that little wire is tightened down.
The second is input selection. Powered speakers often have multiple inputs: Bluetooth, optical, a 3.5 mm aux, and a pair of RCA jacks. The turntable needs to be plugged into the analog RCA input, and the speaker needs to be switched to that input, not to Bluetooth, before anything will be heard. This sounds obvious until a first-timer spends twenty minutes convinced the cartridge is dead because the speaker is still paired to a phone in another room.
Setting the Tracking Force and Anti-Skate Before the First Record
A factory-fresh turntable usually arrives with the counterweight somewhere near the middle of the tonearm and the stylus protected by a plastic guard. The guard comes off. The counterweight gets adjusted. This is the step most beginners skip, and it is the step that determines whether the cartridge sounds right or mistracks every loud passage.
The process: with the stylus guard removed and the tonearm floating free, slide the counterweight back until the arm balances horizontally, then tighten it. That position is zero. The numbered ring on the counterweight can then be rotated to read zero without moving the weight itself. From there, dial the weight forward to the tracking force the cartridge manufacturer specifies, typically somewhere between 1.5 and 2.5 grams for a moving magnet model. The number is printed in the manual and often on the cartridge body.
Anti-skate is the companion adjustment, a small dial or a hanging weight that counteracts the tonearm's tendency to drift toward the center of the record. Set it to match the tracking force. Some purists argue about the exact value; for a beginner, matching the number is close enough and far better than leaving it at zero.
The Small Calibrations That Separate Clean Sound From Hiss
Two more adjustments deserve a mention because they are cheap and frequently ignored. The first is the tracking force scale itself, which on some budget turntables is optimistic by a tenth of a gram or so. A small digital stylus gauge costs less than a new record and removes the guesswork. The second is the vertical tracking angle, which is set by the height of the tonearm relative to the record surface. Most turntables ship at a reasonable angle, and most beginners should leave it alone unless the arm looks visibly tilted.
Speed calibration is the last item. Many turntables have a small screw or a pair of buttons for adjusting 33 and 45 RPM, and a smartphone app that measures platter speed via the headphone jack or the microphone is accurate enough for the purpose. A deck running slightly fast will make every record sound a little sharp, and the owner will blame the pressing.
What the First Playback Should Sound Like, and What It Should Not
Drop the needle on something familiar. The first few seconds should be quiet between tracks, with no steady hum and no crackle that follows the volume knob. If there is a hum, check the ground wire first, then the cable routing, then whether the turntable's built-in preamp is switched to the correct mode. If there is distortion on loud passages, the tracking force is probably too low or the anti-skate is off.
A faint hiss at high volume is normal on most budget setups and is not worth chasing. A rumble that gets worse when the bass notes hit is a placement problem, and the fix is isolation, not a new cartridge. A channel that is silent usually means a cable is not fully seated or the balance control on the powered speaker has been nudged.
The overall character of a well-set-up budget rig is warm and slightly rolled off at the top, with a midrange that flatters voices and a bass that is present but not especially deep. A setup that sounds thin and bright is usually one where the phono stage is missing or the switch is in the wrong position. A setup that sounds muddy is usually one where the speakers share a shelf with the deck.
Buying the Phono Stage Only If the Gear Demands It
The good news for beginners is that the phono stage problem has mostly solved itself. A turntable with a built-in preamp and a pair of powered speakers with an analog input need nothing else. The budget that would have gone to a separate amplifier goes to better records instead. The setup is two boxes and two cables, and it fits on a dresser.
The caveat is that built-in phono stages on budget turntables are competent but not generous. They tend to be a little noisy and a little narrow, and a dedicated external stage in the forty to eighty dollar range is a genuine upgrade for anyone who ends up listening more than casually. It is not a first purchase. It is a second-year purchase, made after the first fifty records have been played and the owner knows what the system sounds like.
That is the whole walkthrough: check the phono situation, place the deck on something solid, run the cables including the ground wire, balance the tonearm and set the tracking force, verify the speed, and then listen. The first record will probably hum. The second one, after the ground wire is tightened, will not. Somewhere around the fifth, the setup stops being a project and starts being furniture that plays music, which is the only outcome that matters.